Maya Animation and Lighting

Introduction

This blog post aims to design and produce a space environment for the escape pod and an animated sequence in Maya.

Space Environment Design Development

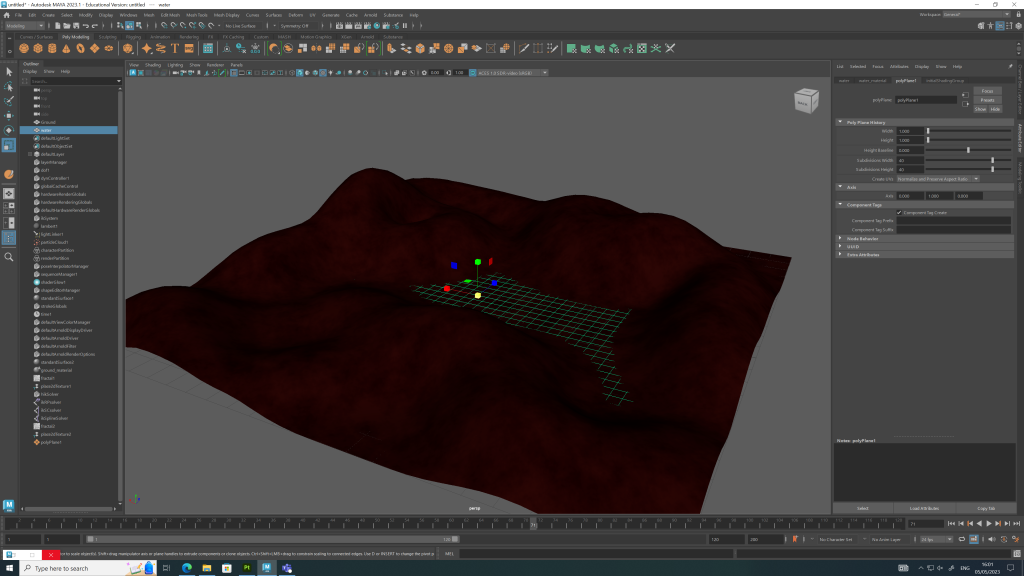
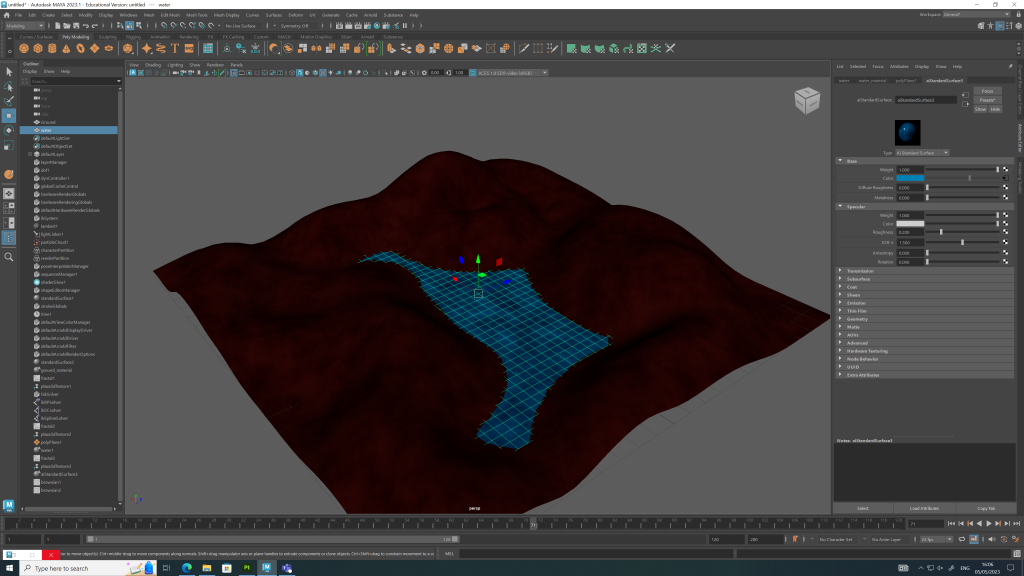
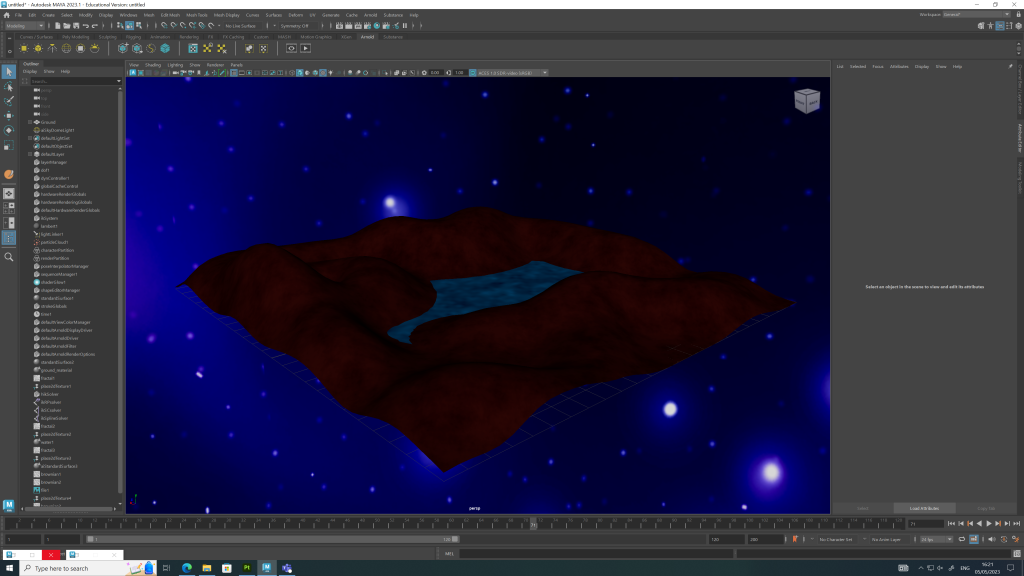
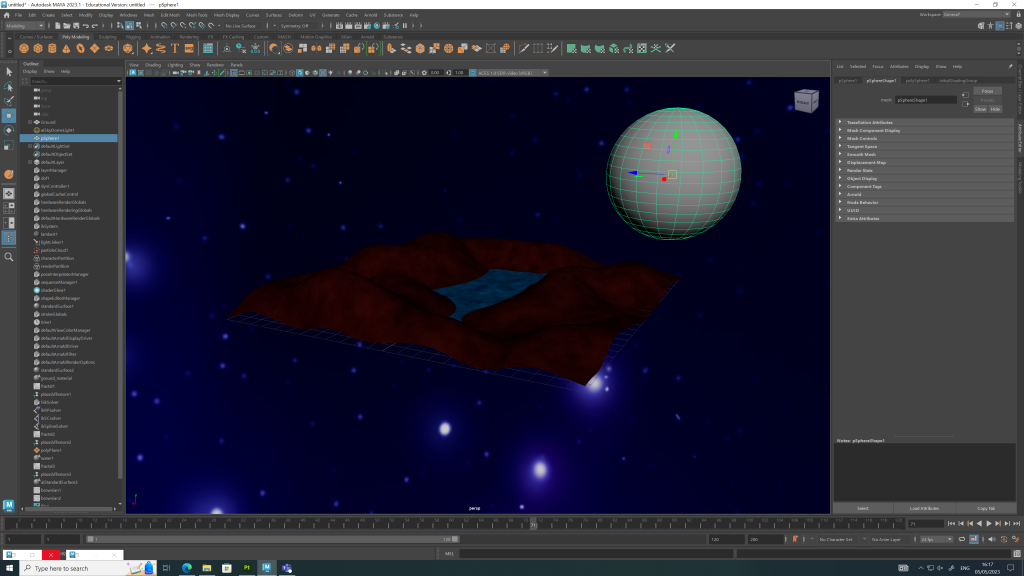
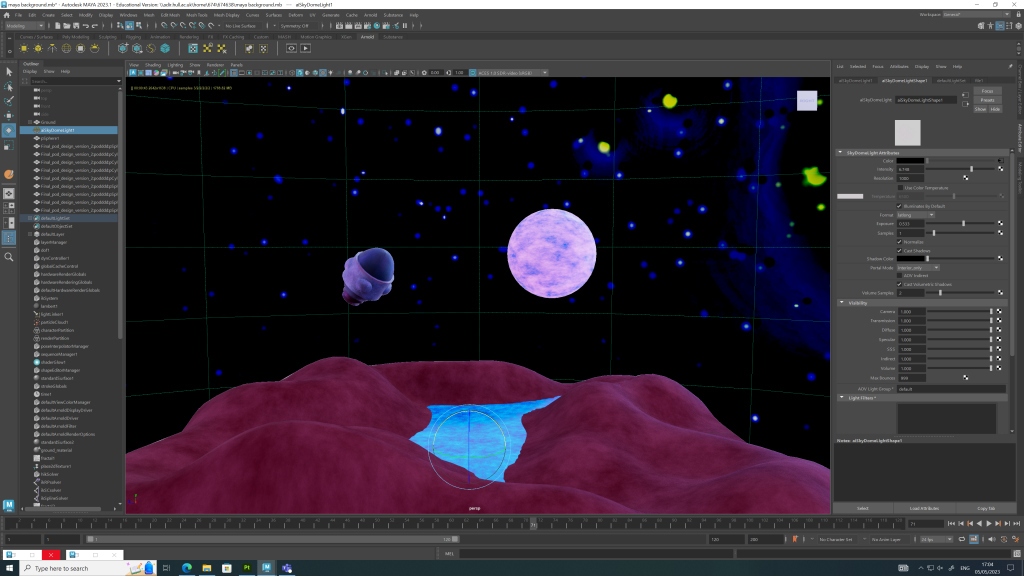
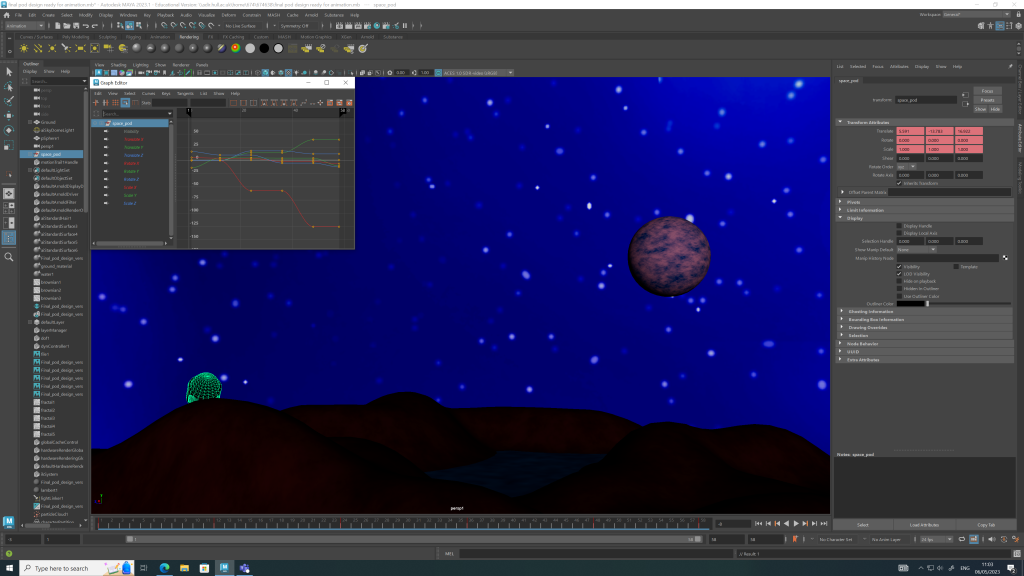
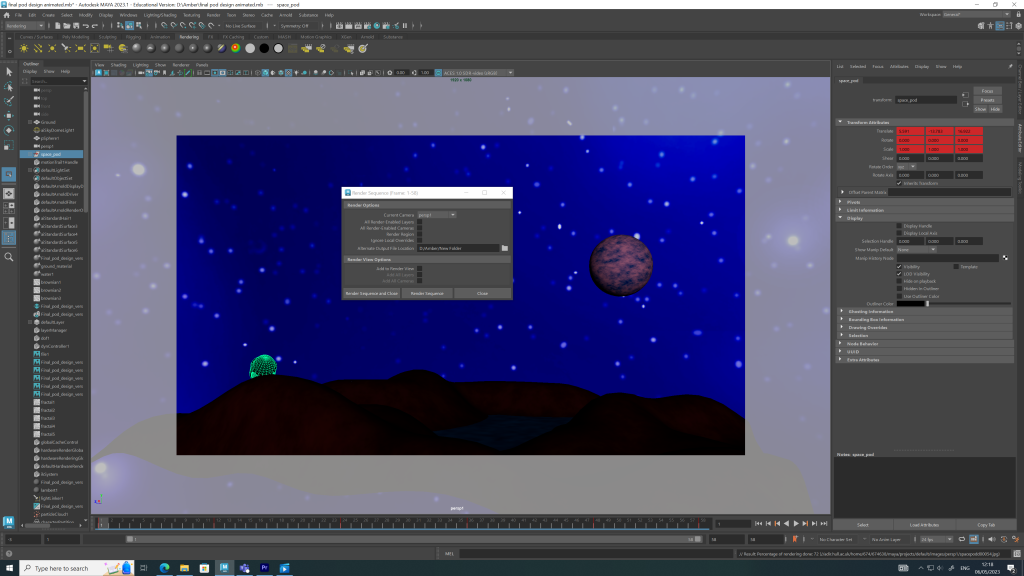
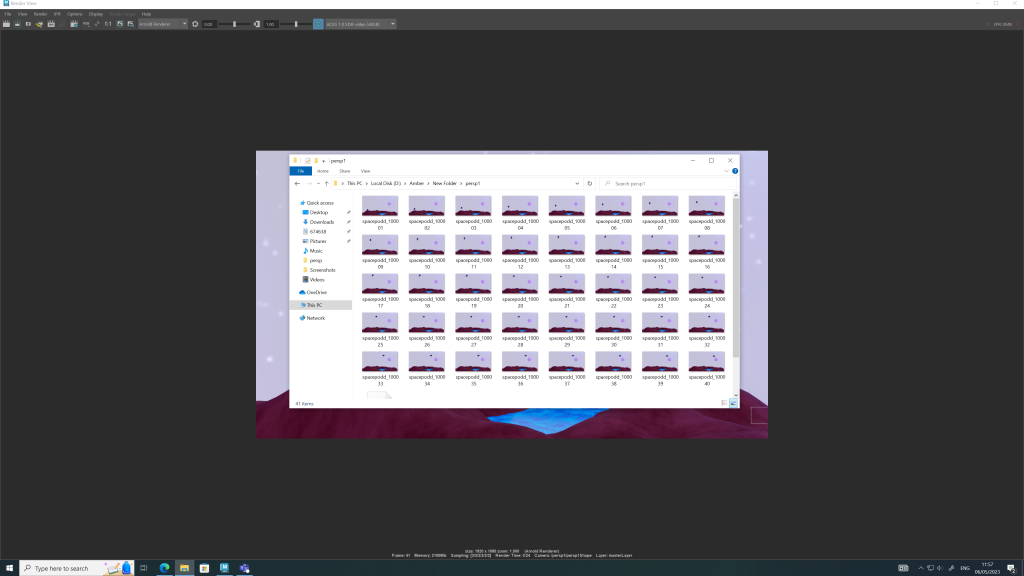
The below images show the design development process of the space environment and lighting setup in Autodesk Maya.

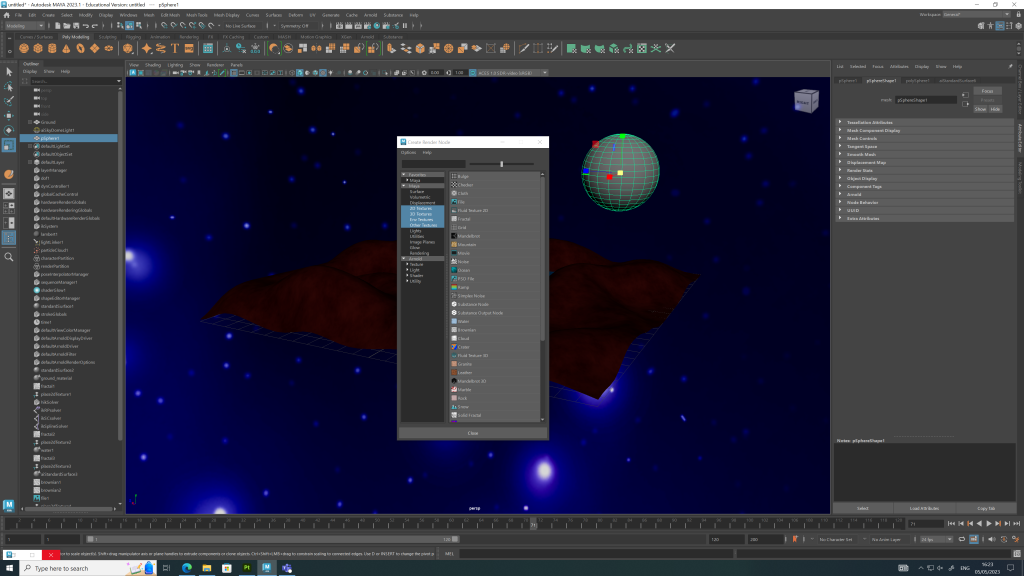
The environment was designed using flat planes and textures which were manipulated to form shapes that represented hills and lakes. The process of building the environment provided experience and valuable Maya knowledge which can be used when designing future Maya projects.

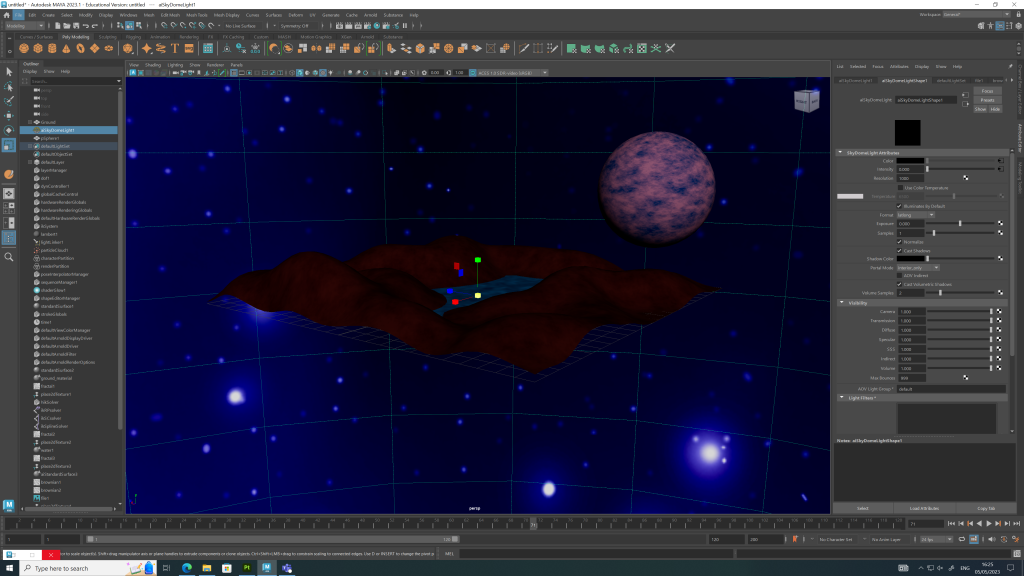
After building the environment, lighting was added to bring the scene to life. The addition of the sky dome light made it easy to manipulate the lighting to frame the space pod in a space environment. Adjusting the lighting settings, I was able to manipulate the colour hues to form a blue tinted background.  
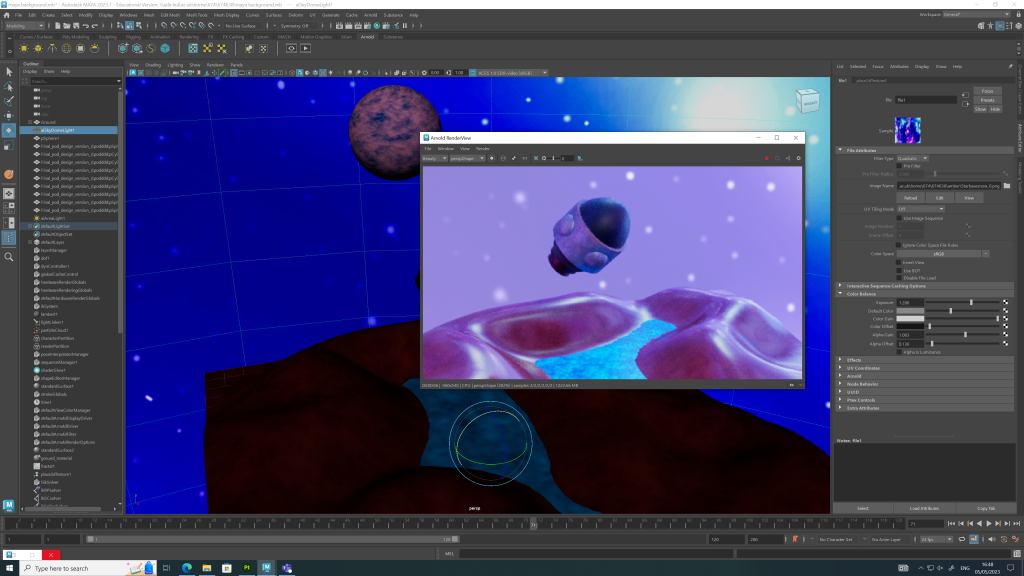
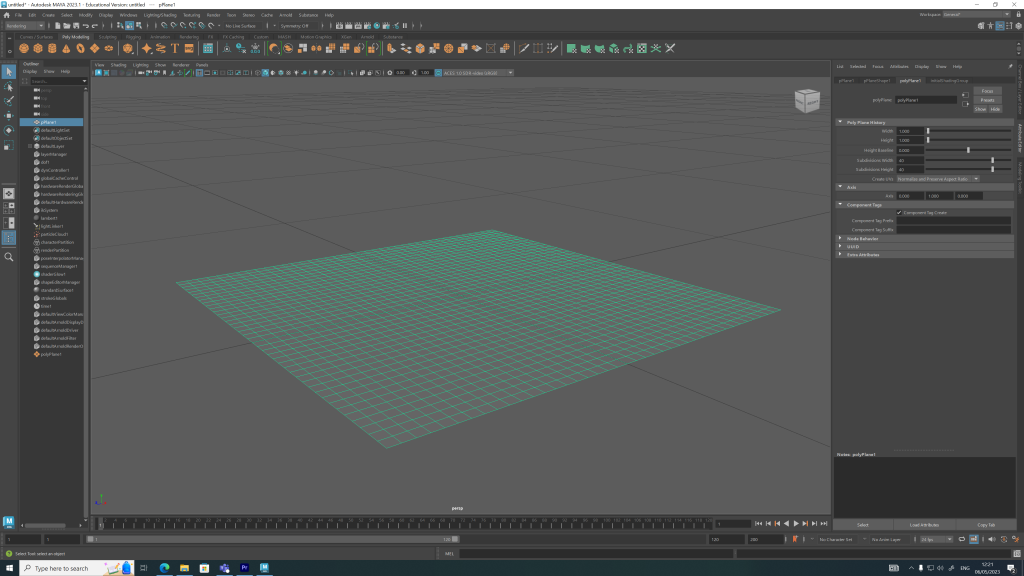
Figure 1 – The starting point of the space environment, a flat plane which will be manipulated to look like the surface of a planet.
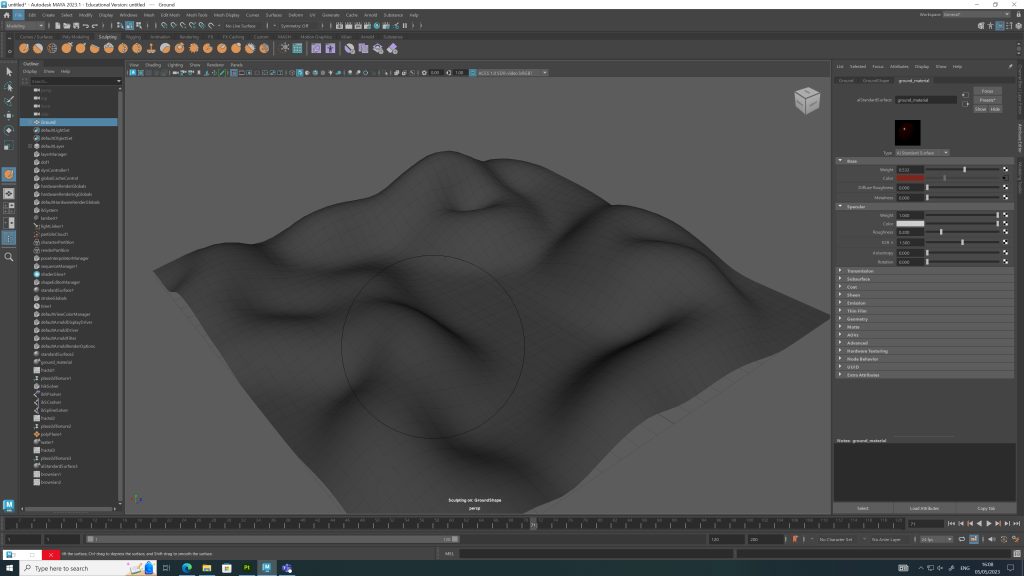
Figure 2 – Manipulating the flat plane using the sculpting tools. Adding craters and hills to the surface of the planet.
Figure 3 – Adding another flat plane to the planet and manipulating it to look like water. Developing the surface of the planet using AI standard surface and fractal settings to make the environment look more realistic through colour hues.
Figure 4 – Changing the colour hues of the water and using the Brownian setting.
Figure 5 – Adding in an Arnold sky dome light and background image to bring the scene together.
Figure 6 – Adding another planet to the scene.
Figure 7 – Going through the steps again of adding the AI standard texture and Fractal settings to the new planet.
Figure 8 – Changing the colour settings of the Fractal texture to make the planet look more realistic.
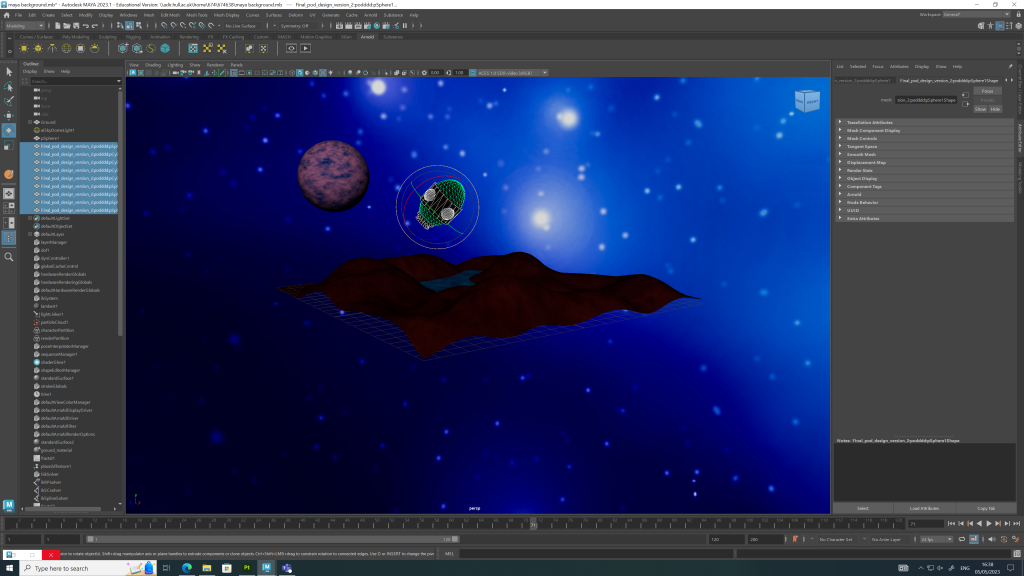
Figure 9 – Importing the space pod into the scene.
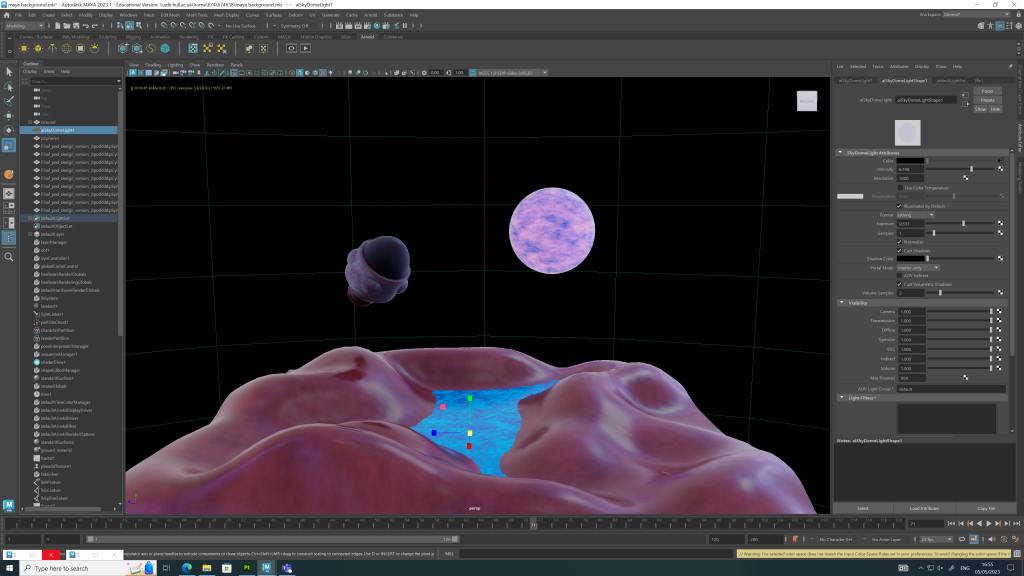
Figure 10 – Using the Arnold render to change the lighting.
Figure 11 – Experimenting with the overall look of the scene and texture of the environment.
Figure 12 – Adjusting the roughness of the environment to make the planet look less shiny.
Figure 13 – Begining the animation process with keyframes, resizing the space pod so that it’s not too big against the rest of the environment.
Figure 14 – Experimenting and adjusting the curves of the animation to make it run smoother.
Figure 15 – Checking the camera perspective ready for rendering the animation sequence and selecting a file for export.
Figure 16 – Rendering the image sequence and saving to a local file ready to be put together in Premier Pro.
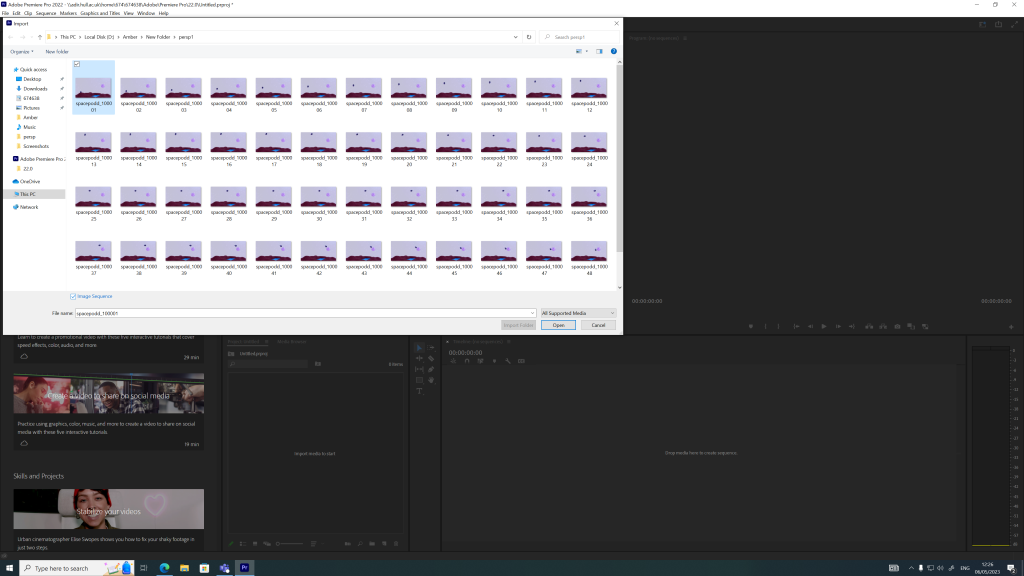
Figure 17 – Importing the rendered image sequence into Premier Pro.
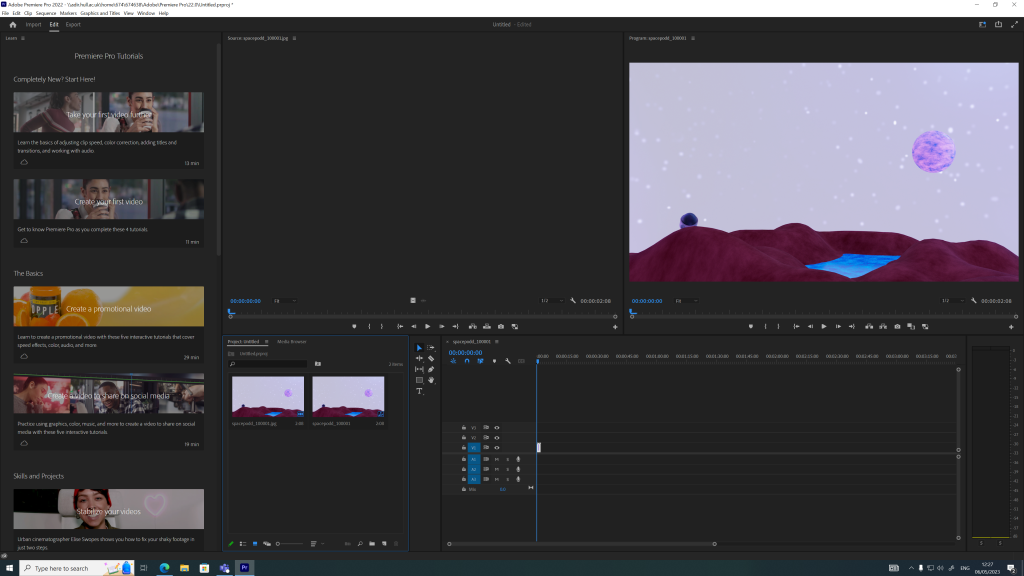
Figure 18 – Ensuring the animation is running correctly before exploring it from Premier Pro.
Animation Storyboard

The storyboard below shows the space escape pod flying across the environment and crashing down behind a hill.
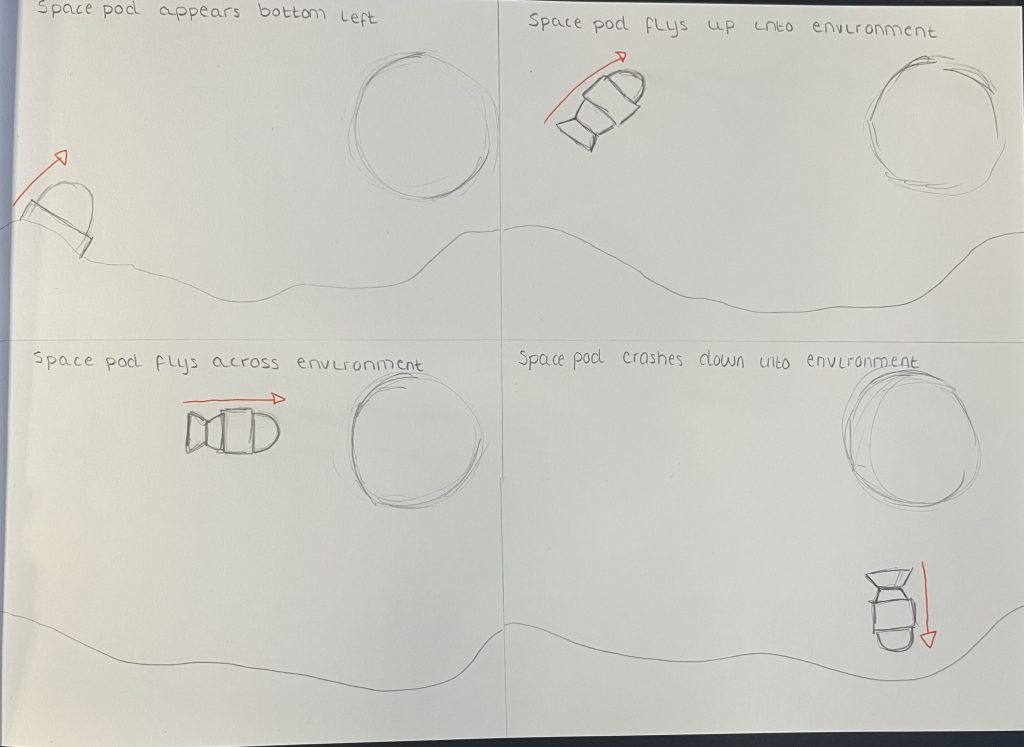
Figure 19 – Space pod animation storyboard.
Final Rendered Animation
Figure 20 – Final Maya animation of space-based escape pod flying across the planet environment.
Reflection

Reflecting on this task and assignment, I have learned a lot about Autodesk Maya and 3D animation. The new knowledge will aid me when designing my final metamorphosis animation for my design portfolio. Throughout my blog posts there is evidence of when things went wrong and how I struggled with certain tasks such as applying a texture from Substance Painter onto my model, which when applied looked distorted. I had to change different settings to fix the problem. Being presented with these setbacks I have learnt how to resolve issues, that have made me more confident in my ability to design using the 3D software.
Scroll to Top