Introduction
This blog post aims to create a custom texture for the space-based escape pod in Adobe Substance Painter.
U.V Unwrapping in Maya
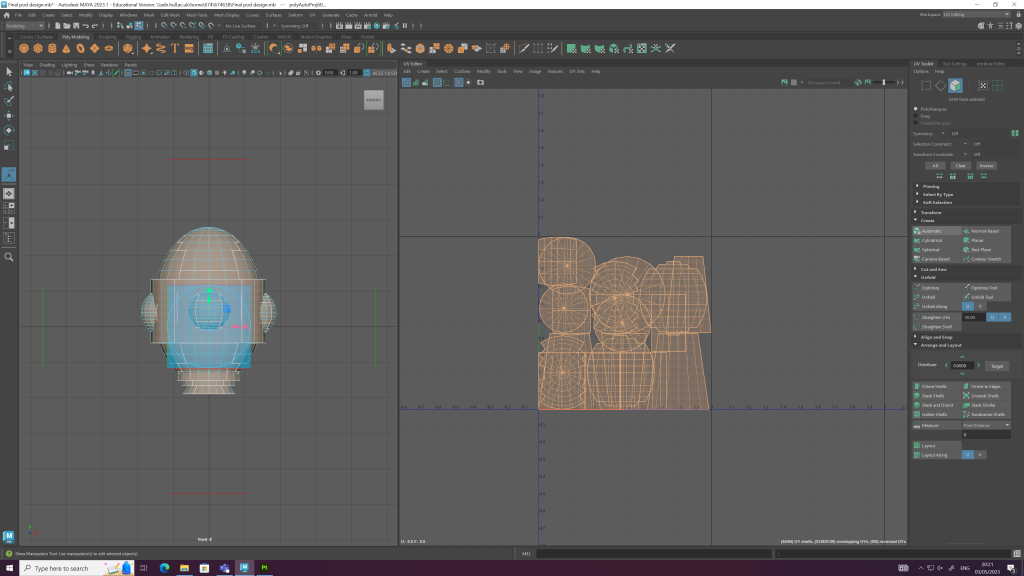
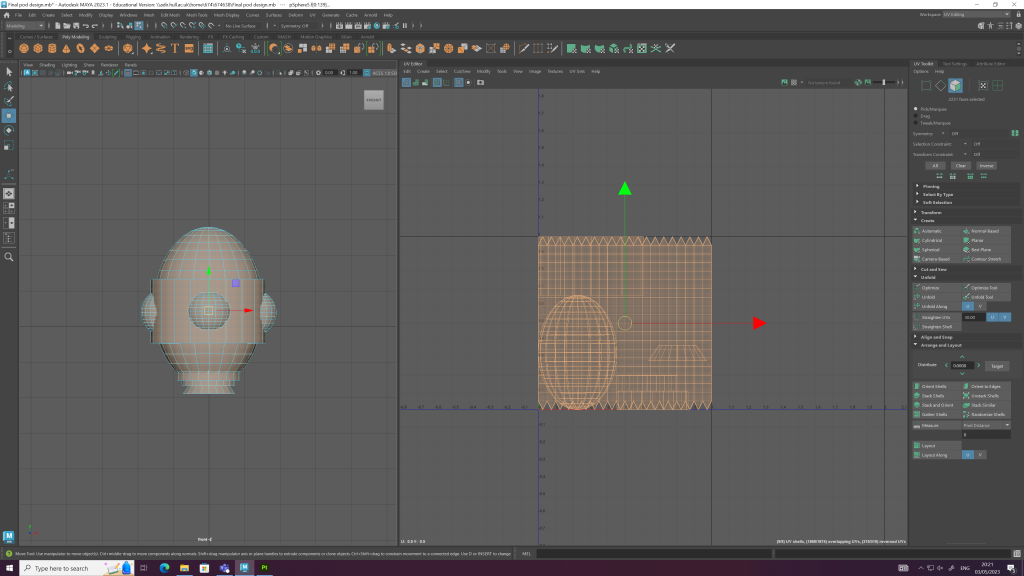
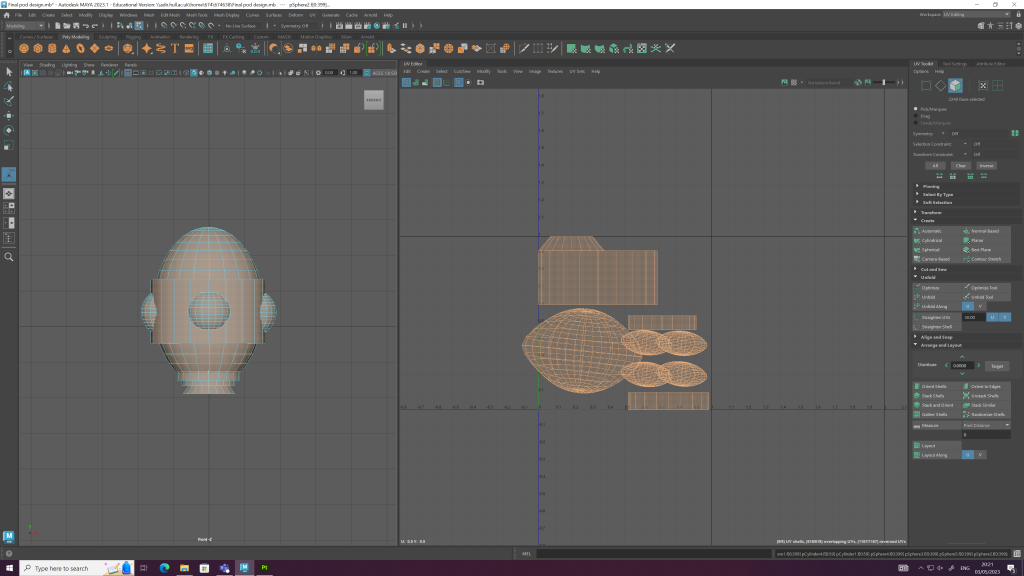
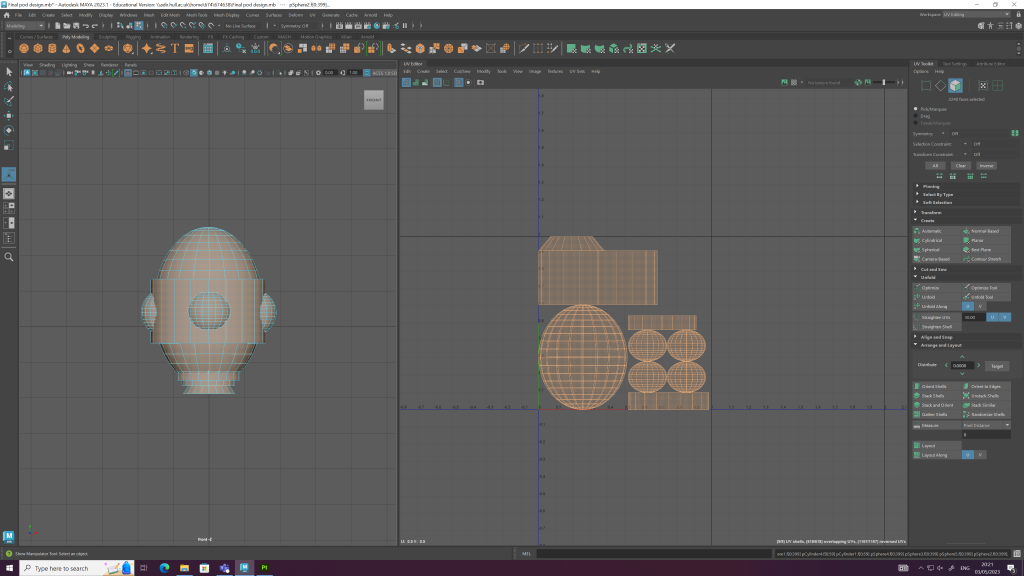
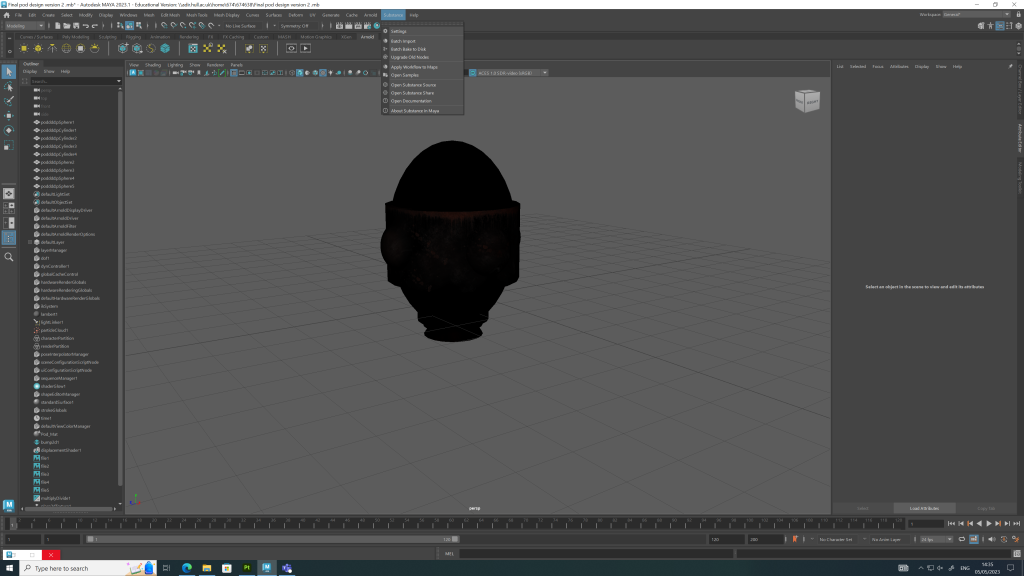
Before I could create and apply textures to the escape pod it had to be U.V unwrapped. This process creates 2D unfolded versions of the pod which make it easier to apply colours and textures to the 3D model in Adobe Substance Painter. Below are images showing the process of U.V unwrapping using the automatic unwrap tool in Autodesk Maya. Once the model was unwrapped it displayed the 2D pieces in a composition which needed to be adjusted so that the pieces didn’t overlap. This was achieved by using the layout tool, which automatically finds the most logical layout composition. Once the U.V unwrapping process was complete I exported the file as an OBJ and imported it into Adobe Substance Painter.
Model Texturing in Adobe Substance Painter
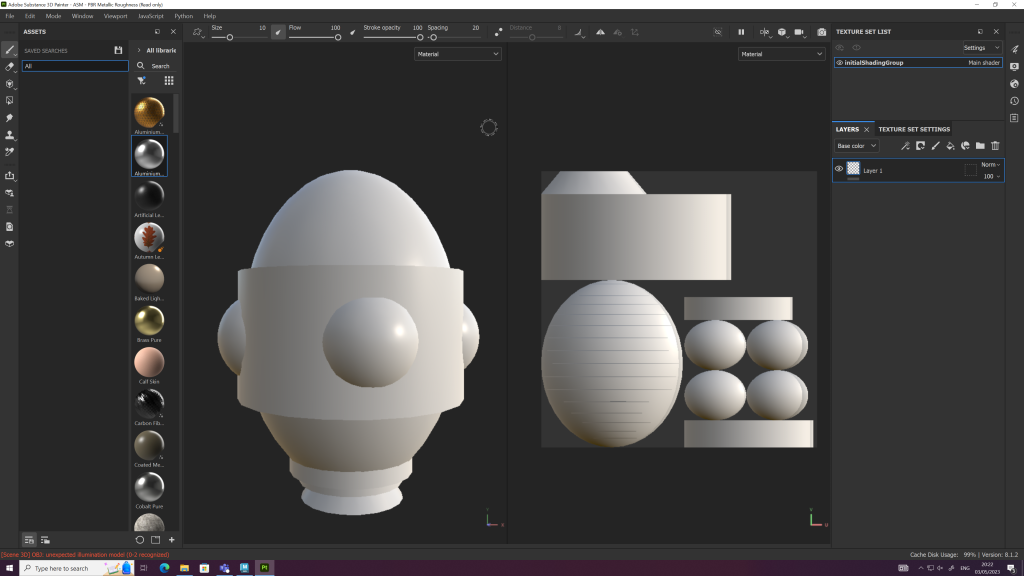
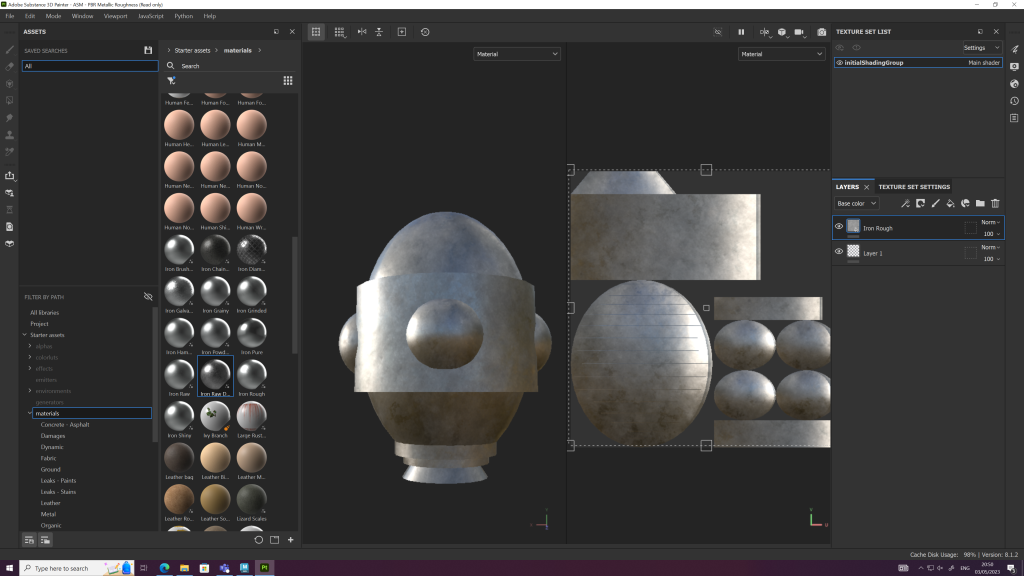
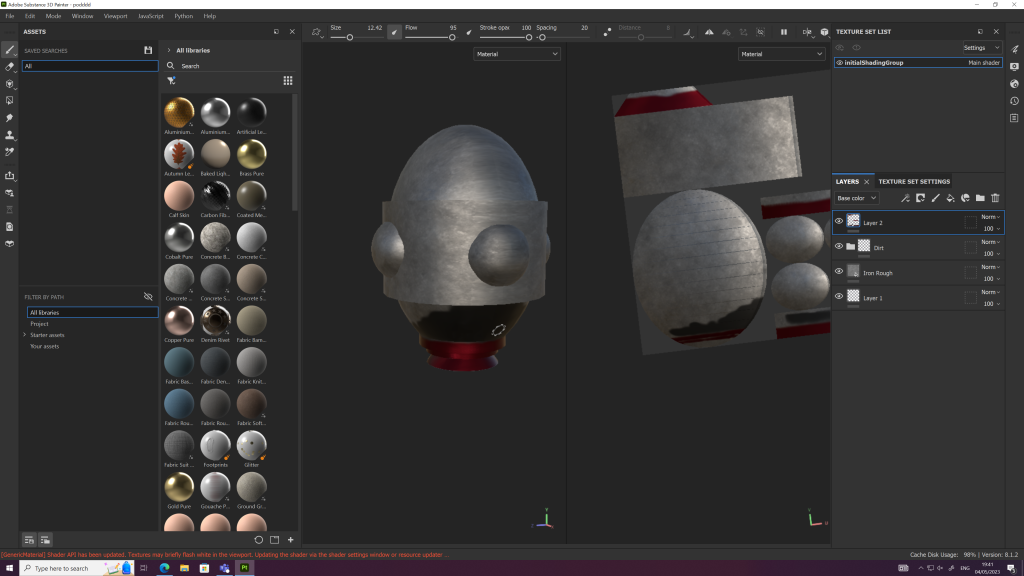
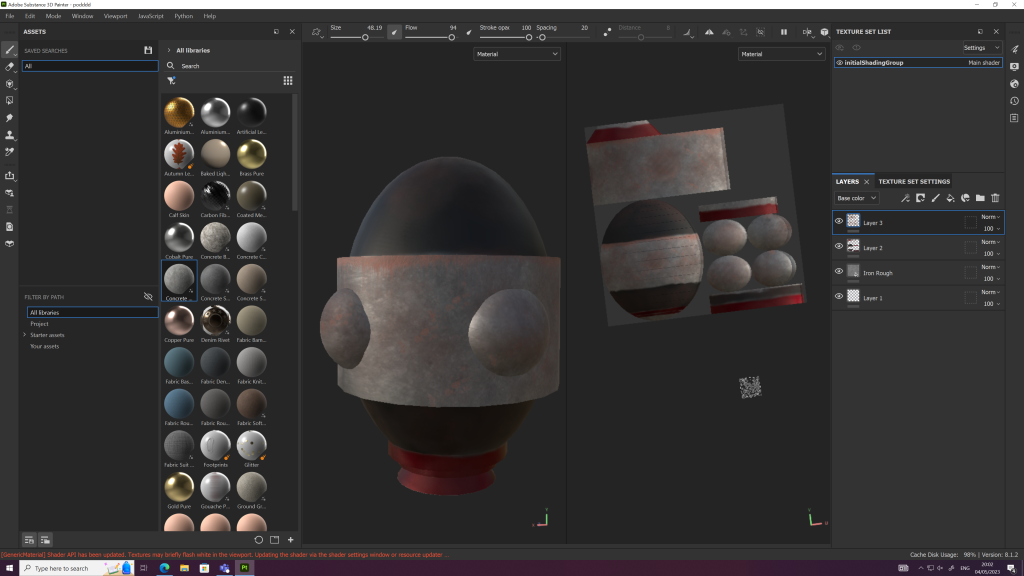
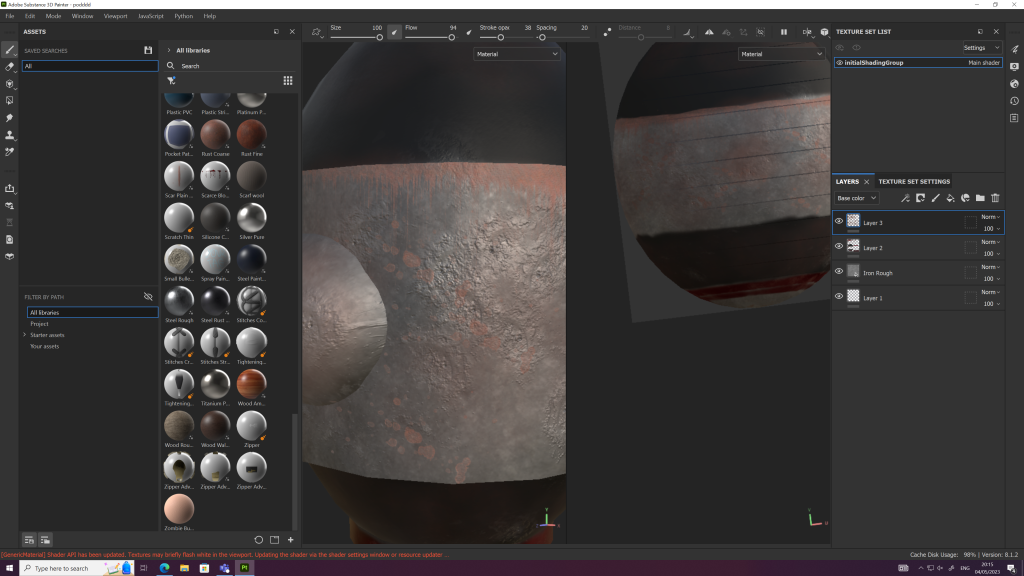
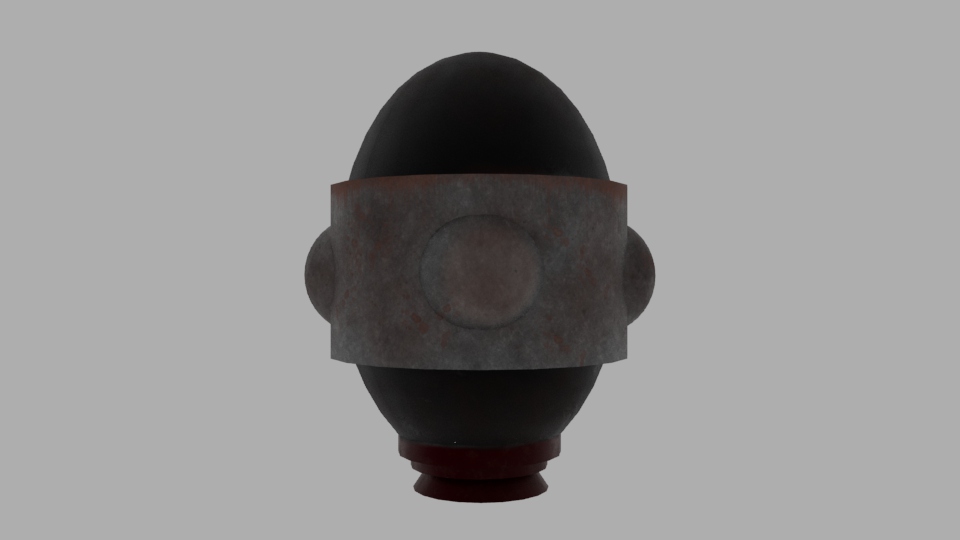
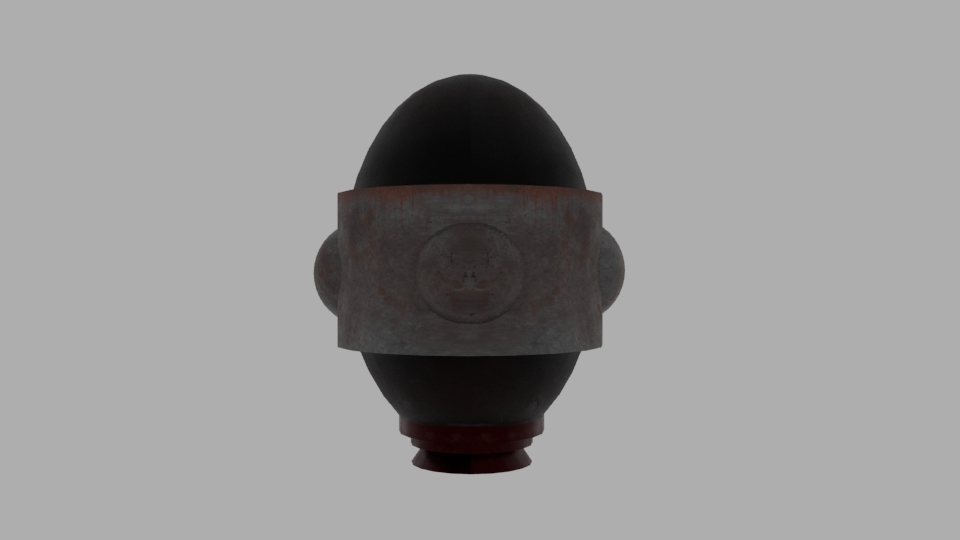
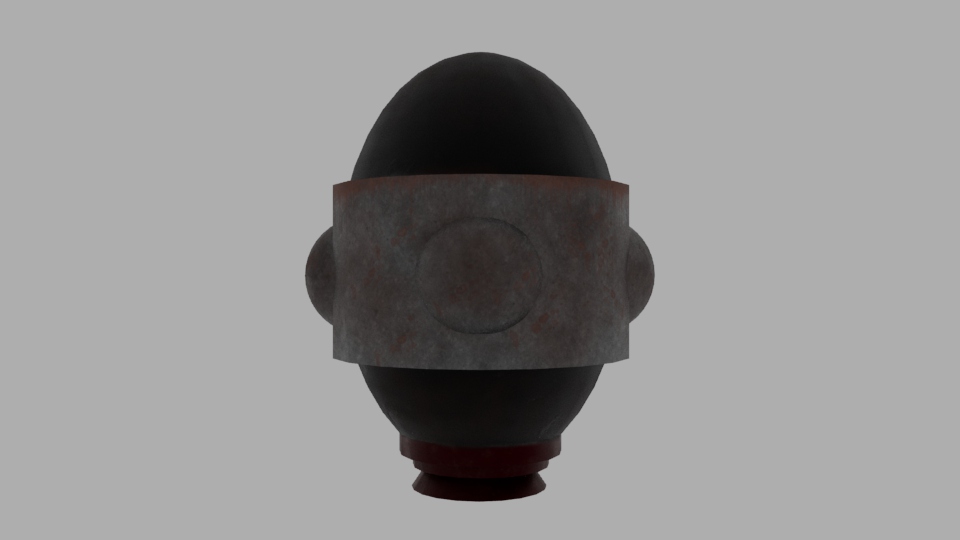
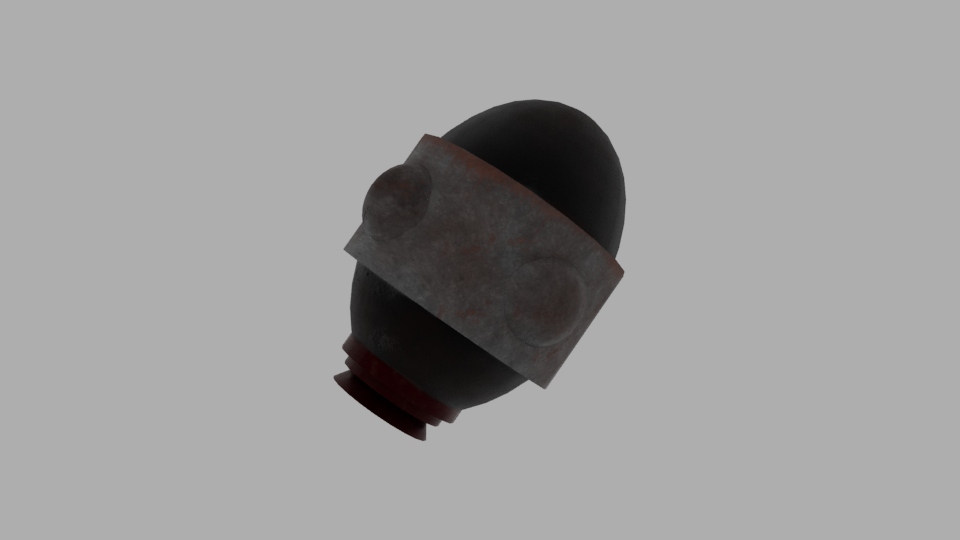
The images below show the process of painting the 3D escape pod model in Adobe Substance Painter. I experimented with the interface and added different textures to the model. Once I had chosen the base texture of the model, I began to paint the surface using different brush techniques which produced different outcomes. I added rust and dints to the model to make it appear old and battered, which helped make the model look more realistic.
Final Four Renders
Reflection
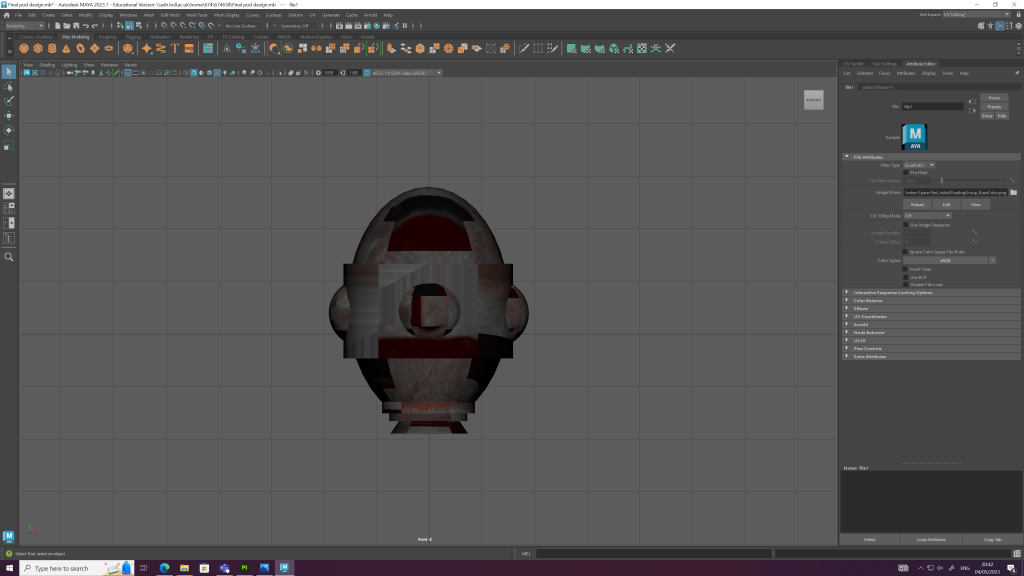
The U.V unwrapping and Substance Painting was difficult; it took me a long time to understand how U.V unwrapping works. I messed up a few times when trying to manually unwrap the model as I couldn’t understand how to cut certain edges and distinguish between the parts that needed to be separated. This led me to automatically unwrap the model for painting. Once I had to import the painted model back into Maya, I couldn’t understand why the model paint looked distorted when applied (as seen in Figure – 10). I later realised it was because I had ticked the automatic unwrapping box in Substance Painter.
