Introduction
This development blog aims to demonstrate working as a part of a team to develop a short stop-motion animation using artist mannequins. Completing this task will provide me with an understanding of how stop-motion animation is produced and how to work productively as part of a design team.

Stop-Motion Animation
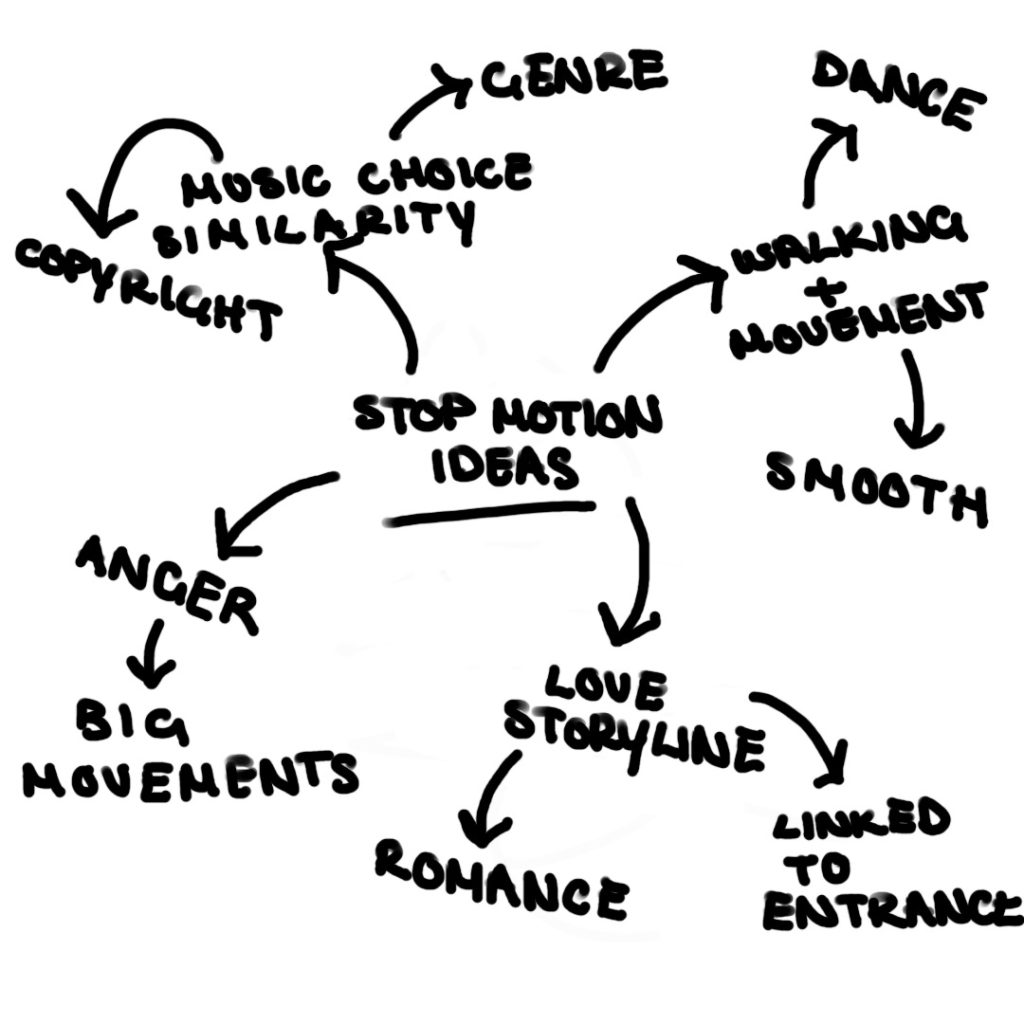
I formed a group with Lucy, Ellie, and Caroline. We initially brainstormed a few ideas encompassing that stop-motion animation and discussed our roles within the team. Caroline was assigned to take the photographs, Ellie and Lucy moved the mannequins in each shot, and I put the animation together in Animate. The final animation shows two artist mannequins dancing and then playfully exiting and re-entering the frame at the end. We experimented with different poses throughout the animation, such as dancing and having the arms of the mannequins around each other. We also played around with having the mannequins pop up from behind the table, making the final animation for interesting.
Group Reflection
Reflecting on our group experience, I believe we worked well together. We all missed the initial lecture, which meant we had to figure out a way to get together and produce the animation for the assignment in our own time. Therefore, communication was extremely important to make sure we were all on the same page. Lucy and I organised the group and asked if anyone else who missed the lecture would like to join us. Lucy then booked a room in the library where we all got together to make the animation. Once we had figured out our plan for the animation, Caroline began to lead the team, whilst she took photographs of the mannequins. Caroline’s guidance ensured we moved the mannequins to the right spot and made changes to each frame. Once we had finished taking the photos, we discussed how we wanted the final video to look, and any adjustments that needed to be made to the images, such as cropping ourselves out of the images to make the final animation look sleeker.
Finally, I began to put the animation together in Adobe Animate. I found the software easy to use when imputing the images and putting them together. I made sure to adjust the settings to 12fps, ensuring that the animation was 10 seconds long and had 120 images. This provided me with an idea of how the final stop-motion animation will look for the energy drink brand ZEST. Inputting the individual images and dragging them to the stage was a tedious experience.
Improvements
To improve our stop-motion animation next time, we need to make sure the mannequin’s hands stay in contact throughout the dancing motion. As you can see in the video above, they come apart a few times, this is where attention to detail was missed in our group. To improve further, music should be added to bring the animation to life, which could also be used to determine the mood of the dance and form an atmosphere for the viewer.