Introduction
Upon completing the User Experience presentation, we were tasked with setting up an email marketing strategy for our WordPress blogs. The marketing strategy consists of a subscription option/pop-up to entice users to sign up for a mailing list which can be used to market campaigns and items without having to be online and active on the site. This way of marketing is practical when creating a personalized experience for the audience, sending out relevant advertisements and information based on their individual preferences straight to their email and expanding on multichannel user experience elements.
Individual Task
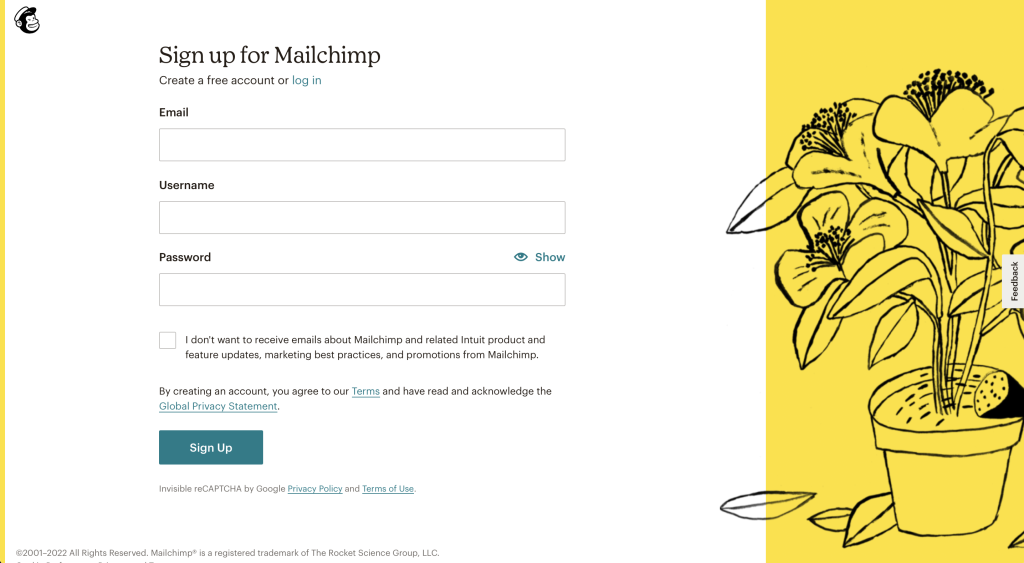
Step 1 – The first step to set up the pop-up mailing list subscription was registering for an account with MailChimp; this is an online space to store and monitor all the email activity gained from the pop-up on the WordPress blog (Figure 1).
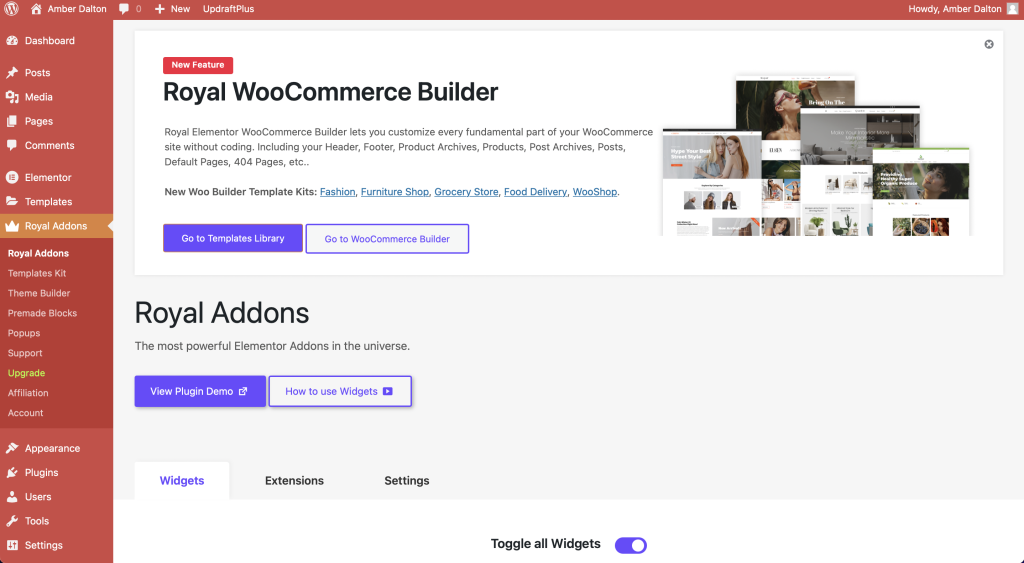
Step 2 – The next step was installing the Royal Addon plug-in on WordPress; this plug-in provides additional widgets, making creating a pop-up from a template easier (Figure 2)
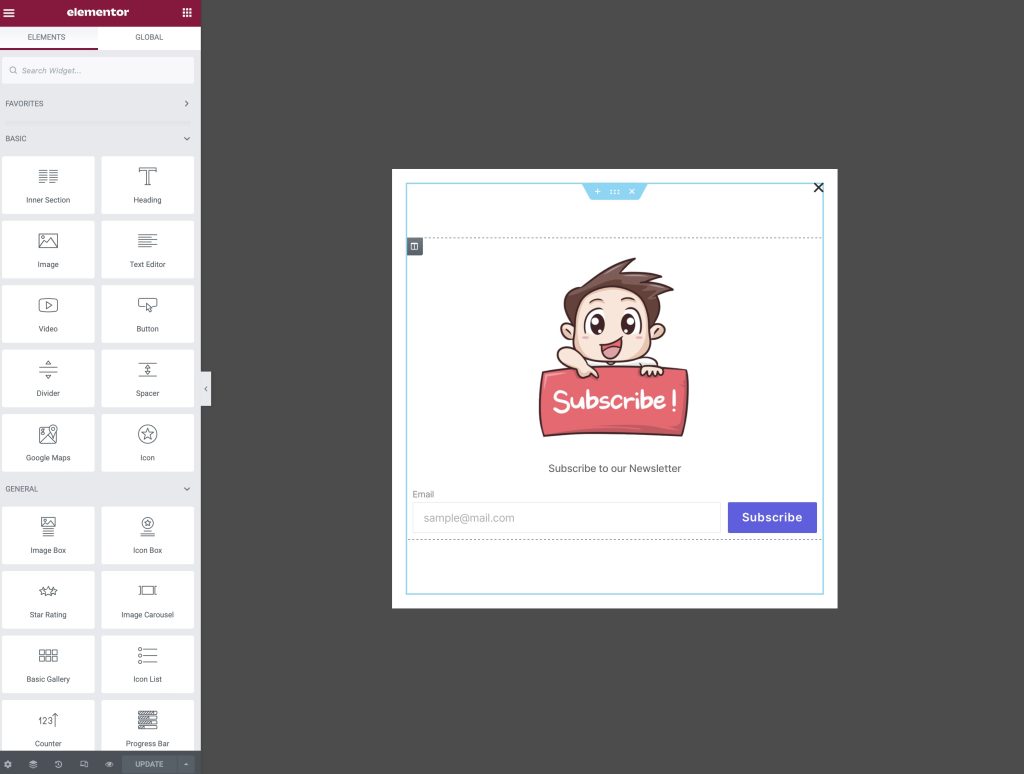
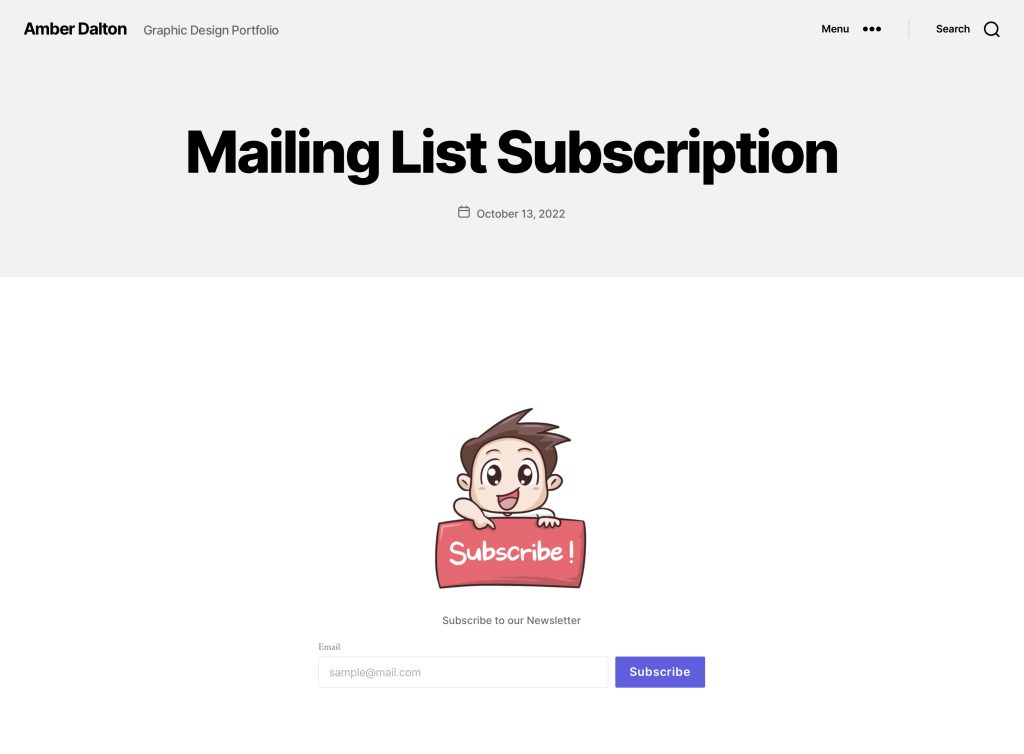
Step 3 – Creating the pop-up was a simple process utilizing tools and widgets from the Royal Addon plug-in through the Elementor website design add-on. The available tools made it easy to install an image and embed a link, as seen in the image below (Figure 3)
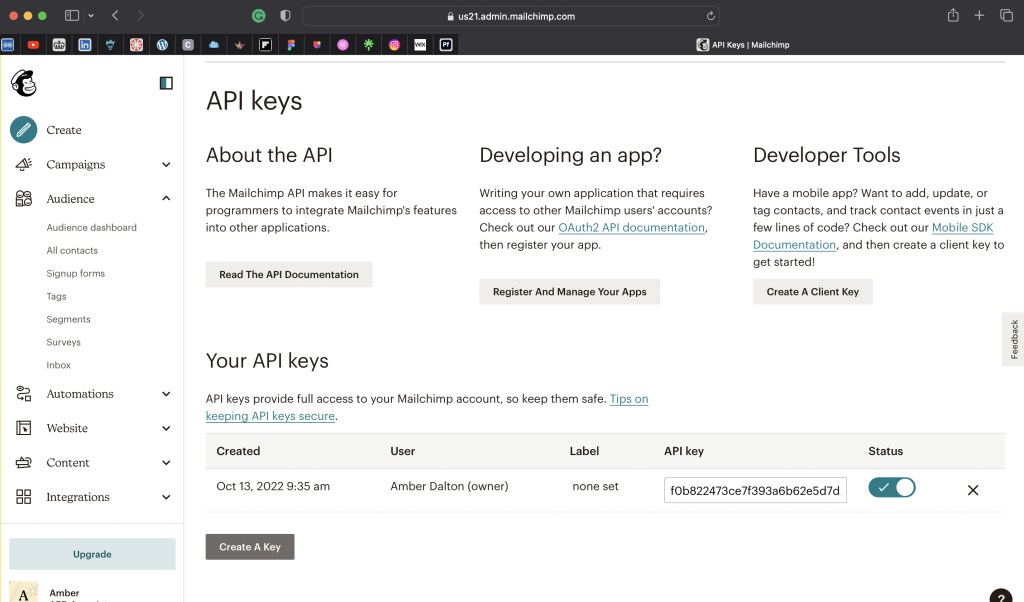
Step 4 – After creating the simple pop-up for future email capture, I had to connect my API key from the MailChimp account to ensure it was synchronized with the WordPress blog; this is important for control over the user signing up for the mailing list (Figure 4)
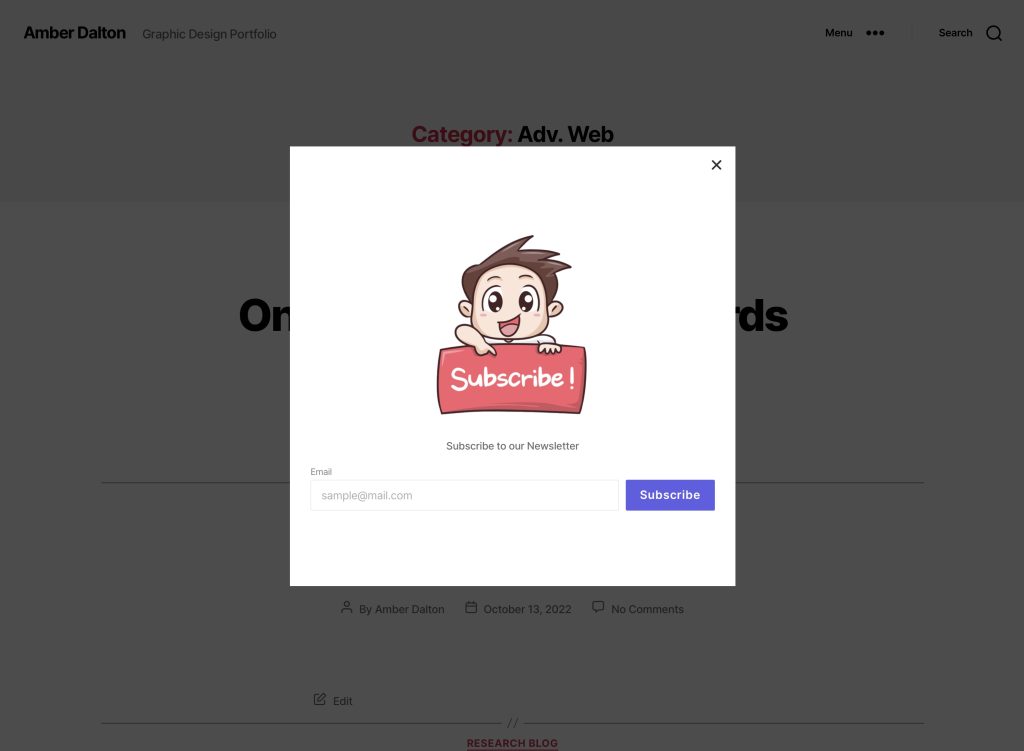
Once the API key was connected and the pop-up was posted to the word press account, it became apparent that something had gone wrong in the process, as the pop-up wasn’t showing up on the live site and only as a separate page on the blog (Figure 5). I later concluded that this mishap occurred because I didn’t set the preferences of which pages the pop-up would be displayed. After correctly delegating the pages for the pop-up, the mailing list subscription pop-up worked across the live site (Figure 6)
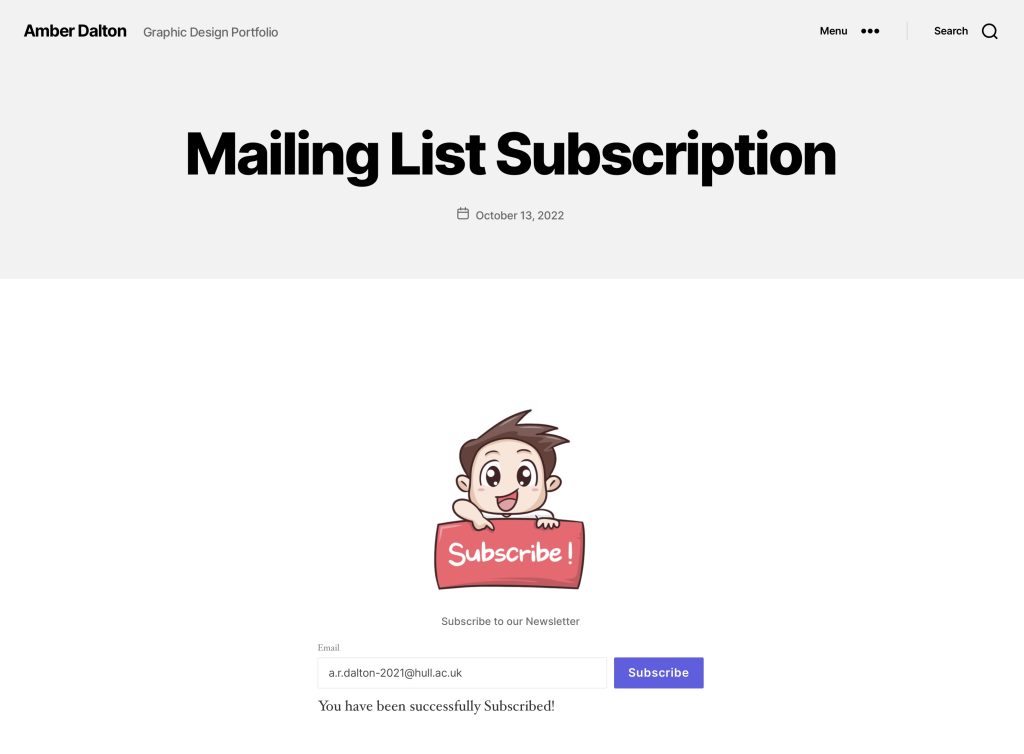
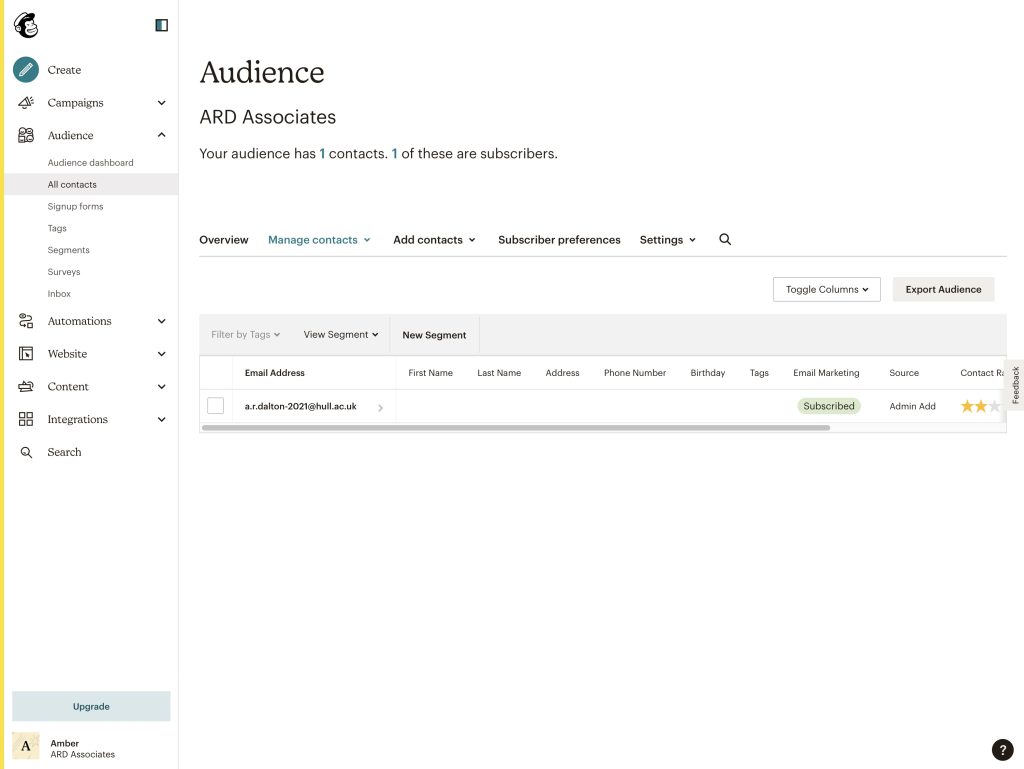
Finally, I tested the pop-up by subscribing to the mailing list myself; the pop-up gave me positive feedback, letting me know it had worked (Figure 7). Next, I checked my Mailchimp account to ensure the site had synced the sign-up. My email was then on display in the audience section of my MailChimp account, solidifying the set-up of both accounts and that the pop-up was working (Figure 8).
Conclusion
In conclusion, setting up the pop-up on my WordPress account was simple and allowed me to explore new tools and widgets that may become useful when creating my portfolio website. Finally, if I did this activity again, I would team up with someone and ask them to subscribe through their own server to test the pop-up abilities further.